Last Updated on August 10, 2021 by Team CrazyJackz
Rocking horses are a gender-neutral toy that can provide children with hours of entertainment.
What more, they are so durable, they last for generations and can be used by your grandkids too! Then why don’t many people buy it for their kids? The answer is.. it’s heavy cost. Yes, not only the wooden rocking horses but also the plastic rocking horses are getting costlier nowadays.
Now, what if I tell you that you can easily build your own wooden rocking horse, with just a few simple tools? What if I tell you that you can build a durable wooden horse at your home, that kids will enjoy playing forever?
Yes, this is what you’ll agree too, after reading these 2 simple DIY rocking horse plans done using woodworking.
So, let’s don’t waste any more time and immediately jump into the 1st DIY Wooden Rocking Horse plan…
Wooden Rocking horse Plan 1:

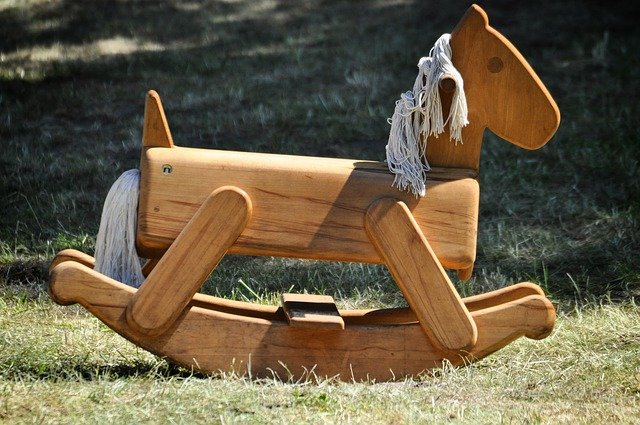
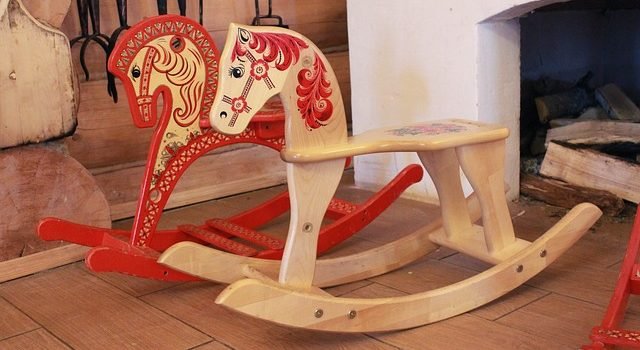
(Images are just for illustrative purposes and no way related to the content below)
Tools – Measuring tape, angular/combination square and a portable circular saw with a straightedge guide, portable jigsaw, table saw, electric drill, #2 Phillips screwdriver or driver bit, Router with 1/2in flush trim bit, assorted clamps, sanding block with medium-grit abrasive and 1/16in twist drill and 3.16in with a countersink bit.
Materials required – 3/4in x 24in x 48in sheet of Baltic birch plywood, 1/4in x 24in x 24in sheet of Baltic birch plywood and 3/4in x 3/4in x 96in pine molding, 3/4in dowel, a package of #8 x 2in flathead wooden screws, a package of #8 x 1-1/4in flathead wood screws, wood glue, wood filter, paint and a box of 4d(1-1/2in) finish nails.
Other resources – Cutting diagram, project diagram, full-size pattern or reduced size pattern.
Procedure – Before you begin constructing your very own wooden rocking horse, come up with a pattern that you can refer to while building. Similarly, you can cut and shape a panel and then use this as the template for the rest. After you’ve printed out the template, use it to trace the outlines of the body panel. Proceed to cut and sand this template and use this to trace the outline of the two body panels onto the 3/4in birch plywood. Cut the parts approximately, keeping outside the pattern lines, clamp them onto the master template as you rout them to their final shape. Re-arrange the paper patterns on the inside of each body panel and mark the exact locations where you will be adding the cleats later. Use the cutting diagram to cut out the remaining parts as shown after you’re done routing the body panels to shape.
Drill 3/16in holes to mount screws for the support cleats. Once you’ve cut all the parts, remove any splinters by sanding sharp edges. Survey the parts that need gluing; you can paint the rest if you want. Use the pattern sheet to see where the wedge blocks, saddle, and cleats will attach to the body panel. 1-1/4in screws and glue will be required to attach the seat cleats and body cleats to the insides of each panel. Attach the body wedge blocks and head wedge block to the body panel and fasten using support cleats. You can fasten the handles with glue and 2in wood screws. It’s best to do this before you’ve connected the two body panels for greater convenience. Take the second body panel and align it with the first when you glue both together. Secure the joints by driving screws through the support cleats. To attach the footrest, you will have to drill 1/16in pilot holes on the edges of the body panel. The seat and tail will need to be attached – use 1-1/4in screws and glue for this purpose. Lower the seat onto the body panel and fasten it with 1-1/4in screws that run through the support cleats. Lastly, glue the saddles and clamp it to the body panels.
Wooden Rocking horse Plan 2:

(Images are just for illustrative purposes and no way related to the content below)
A “Swinger” rocking horse on a safety stand is easy to make and can be used until your child is six years old. Make a flat-head swinger as it requires no carving. Use sheets of tulip wood to cut out the rocking horse’s body. Utilize actual size paper templates available online to cut out the pieces. You can use a jigsaw or even purchase the parts ready-cut if you’re not comfortable using power tools. Refer to the template to drill holes accordingly and assemble the body using dowel joints and screws. You may or may not choose to top it up with acrylic varnish. A leather jacket can be used to make the saddle. Two long cut pieces of wood will go into making the “hoof rails” that need to be attached to each side of the horse with the fore and hind leg as fixing points. Find a pair of U-shaped “swing irons” and four swing iron brackets to mount the hoof rails onto the stand. Voila! Your rocking horse is all ready.
Remember..
All it takes to build a rocking horse all by yourself is a template that details the shape and size of all the parts that will go into your rocking horse. The same template will be used to cut out the parts. Cut the strut tops and the strut bases. Paint the parts, if you want. Join the head with the body and the crosspieces with the struts. Go on to attach the rockers and the body to the struts. Fasten the seat and secure the dowel handle through the dowel hole in the head. There you have it. Your DIY rocking horse is now complete.

Know About Us | Know our Expert Contributors
- Findom Guide: 10 Must-Know Findomme Tips for Ultimate Domme Control - March 22, 2025
- 100 Great Conversation Starters to Spark Instant Connections - March 15, 2025
- 10 Essential Characteristics of a Godly Woman - March 4, 2025

